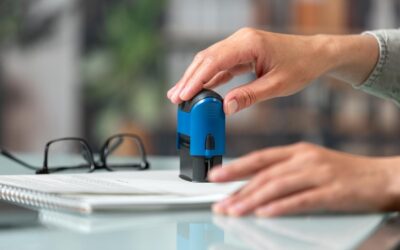
Preparing a clear and effective rubber stamp layout is essential for creating a crisp impression and a professional result. Whether you need a business stamp with company details, a Commissioner of Oaths stamp for legal documentation, or a “PAID” or dater stamp for retail use, a well-designed layout improves efficiency and helps avoid costly remakes.
Keep the Design Simple
When designing self-inking rubber stamps, simplicity and clarity are key. As stamps are generally small, avoid overcrowding the layout. Include only the most important information, such as your company name, contact details, or a short message. Prioritising readability over decorative elements will produce a cleaner and more effective result.
Choose the Right Font
Font selection plays an important role in stamp quality. Clean, easy-to-read sans-serif fonts usually produce the best results, particularly on smaller stamps. Avoid decorative, script, or very thin fonts, as fine details may fill in or become difficult to read. A minimum font size of approximately 8 pt, depending on the stamp size, is generally recommended to maintain legibility.
Allow for Proper Spacing
Adequate spacing between lines and around the edges of the design helps create a sharp impression. Text that is too close together may blur, while elements positioned too close to the edge may not stamp correctly. Including sufficient margins helps ensure a complete and consistent impression every time.
Use High-Quality Logos and Graphics
If your custom rubber stamp includes a logo or graphic, use high-contrast black-and-white artwork wherever possible. Fine details, gradients, and shading do not reproduce well in rubber stamps. Simplified, bold artwork delivers cleaner and more reliable results.
Create a Balanced Layout
Alignment contributes to both readability and appearance. Centre-aligned text is a popular choice for many rubber stamps, while left-aligned layouts often suit address stamps. Whichever layout you choose, keep the overall design balanced, uncluttered, and easy to read.
Proofread Before Production
Always design your stamp at its actual size so the on-screen layout accurately reflects the finished product. Before approving production, carefully check spelling, contact details, numbers, and formatting to avoid unnecessary errors or delays.
Plan for Future Updates
Business information can change over time. If phone numbers, addresses, or other details are likely to be updated, consider a layout that can be modified without redesigning the entire stamp. This can save both time and money in the future.
A Professional Layout Makes a Difference
A well-designed self-inking rubber stamp delivers a sharp, professional impression while improving efficiency in everyday business operations. Taking the time to create a clear and practical layout helps ensure your stamp remains reliable, easy to read, and fit for purpose for years to come.